
Registration Forms let you publish a public sign-up link, collect applications from prospective members, and approve them into your roster — all without a third-party form tool. This guide walks you from empty form builder to approved member.
Before you start
Three things to have in place:
- A Rook plan. Registration Forms is a Rook-tier feature. Pawn clubs see an upgrade prompt where the form list would be. If you’re new to Rook, the 14-day trial covers this fully — no commitment to try it.
- A roster the form will add to. Adding Members covers getting your first members in if you haven’t done that yet.
- A sense of who you’re trying to attract — the form title and description are the first thing prospective members read.
Build a form
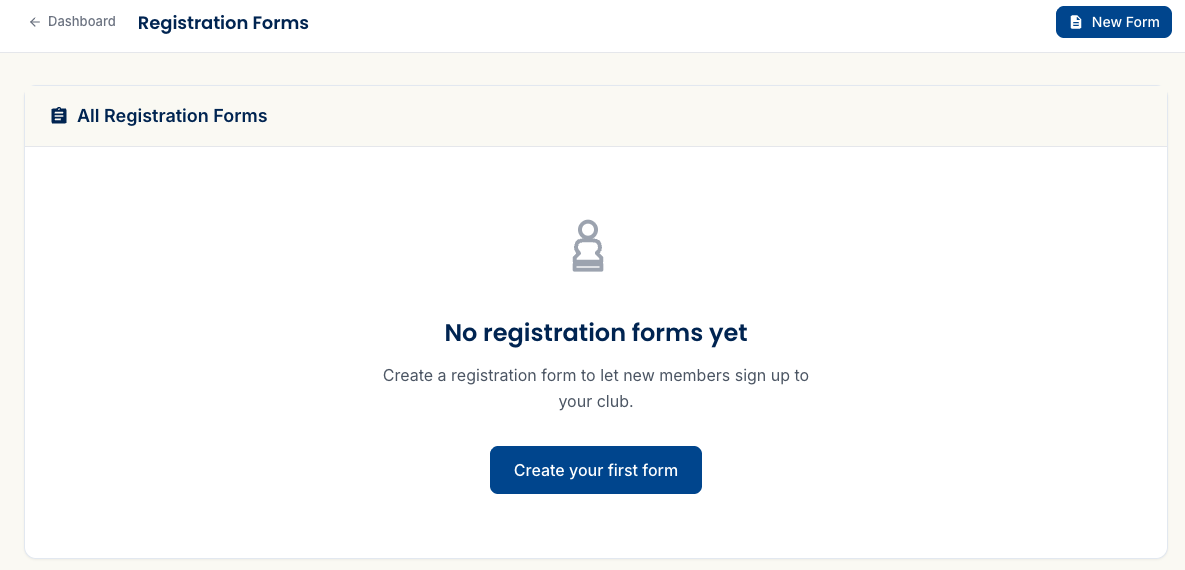
Head to Registration Forms and click + New form (or use the “Build a form” quick action on the dashboard). The builder opens with three tabs: Settings (the default), Form fields, and Post-approval.
Every new form comes pre-populated with three required fields — First Name, Last Name, and Email — already mapped to the right member attributes. For most clubs, those three plus a handful of optional questions are enough.
Settings tab
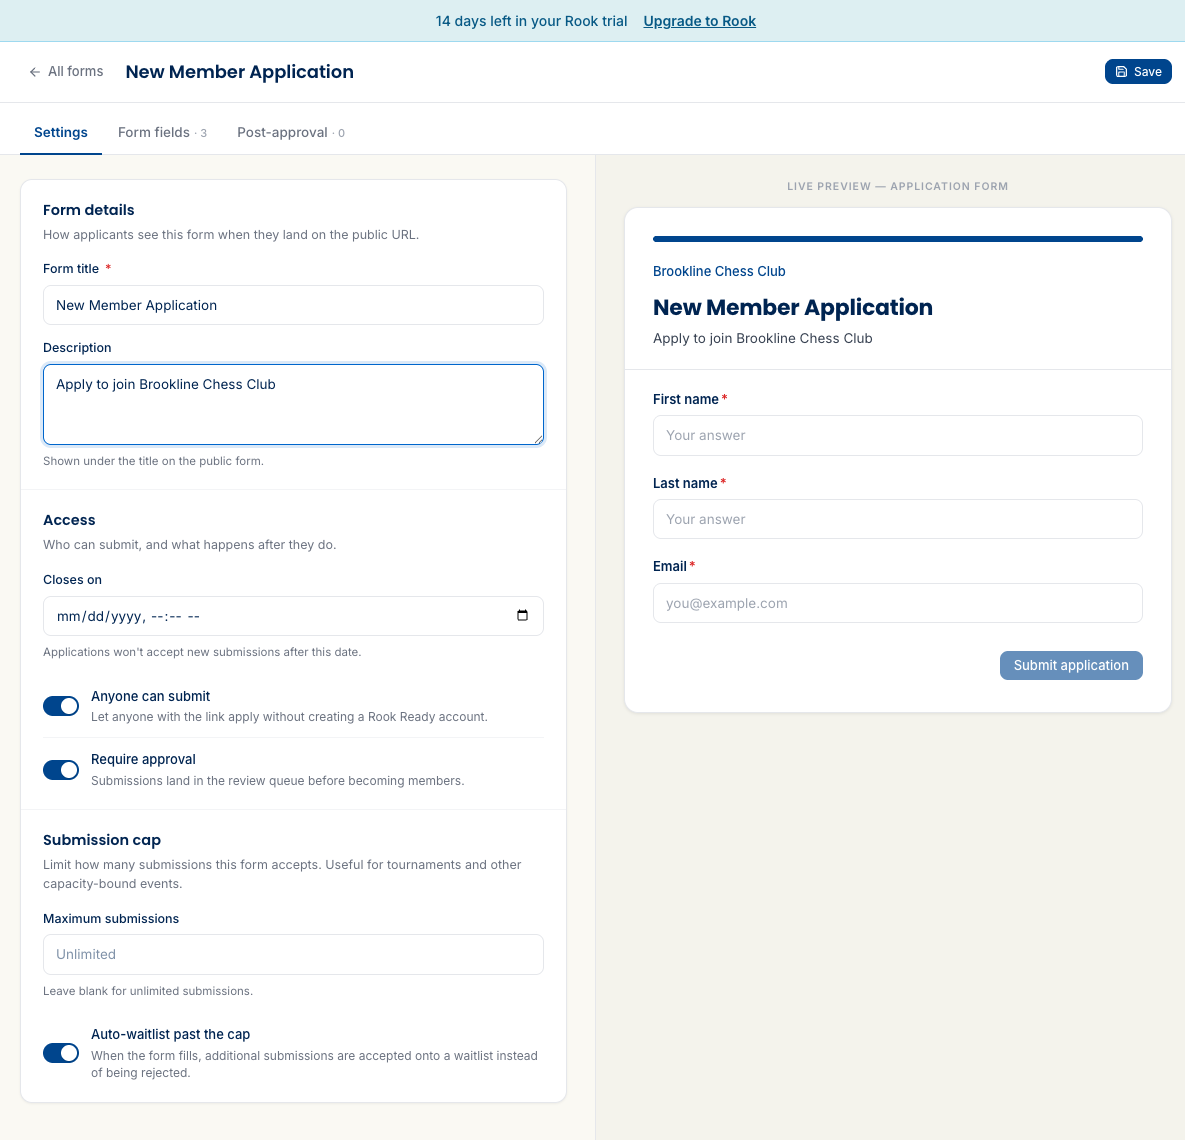
The Settings tab is the first thing you see when the builder opens. Work through it top to bottom:
Form title and description — the public-facing intro. The title becomes the H1 on the applicant’s page; the description sits below it before the fields start.
“Anyone can submit” — on by default. When on, anyone with the link can apply without a Rook Ready account. Turn it off only if you want the form restricted to existing members applying for something specific (like a committee role or a coached group).
“Require approval” — on by default. Submissions land in the review queue rather than auto-approving into your roster. Turning it off would add every submitter immediately; only do that if you trust the audience completely.
“Closes on” — optional date picker. When set, the form stops accepting submissions after that date. Useful for tournament signups or workshops with a hard deadline.
Submission cap — leave blank for unlimited. Enter a number to cap total accepted submissions. The “Auto-waitlist past the cap” toggle lets you keep accepting applications after the cap is reached but hold them in Waitlisted status rather than rejecting outright.
Form fields tab
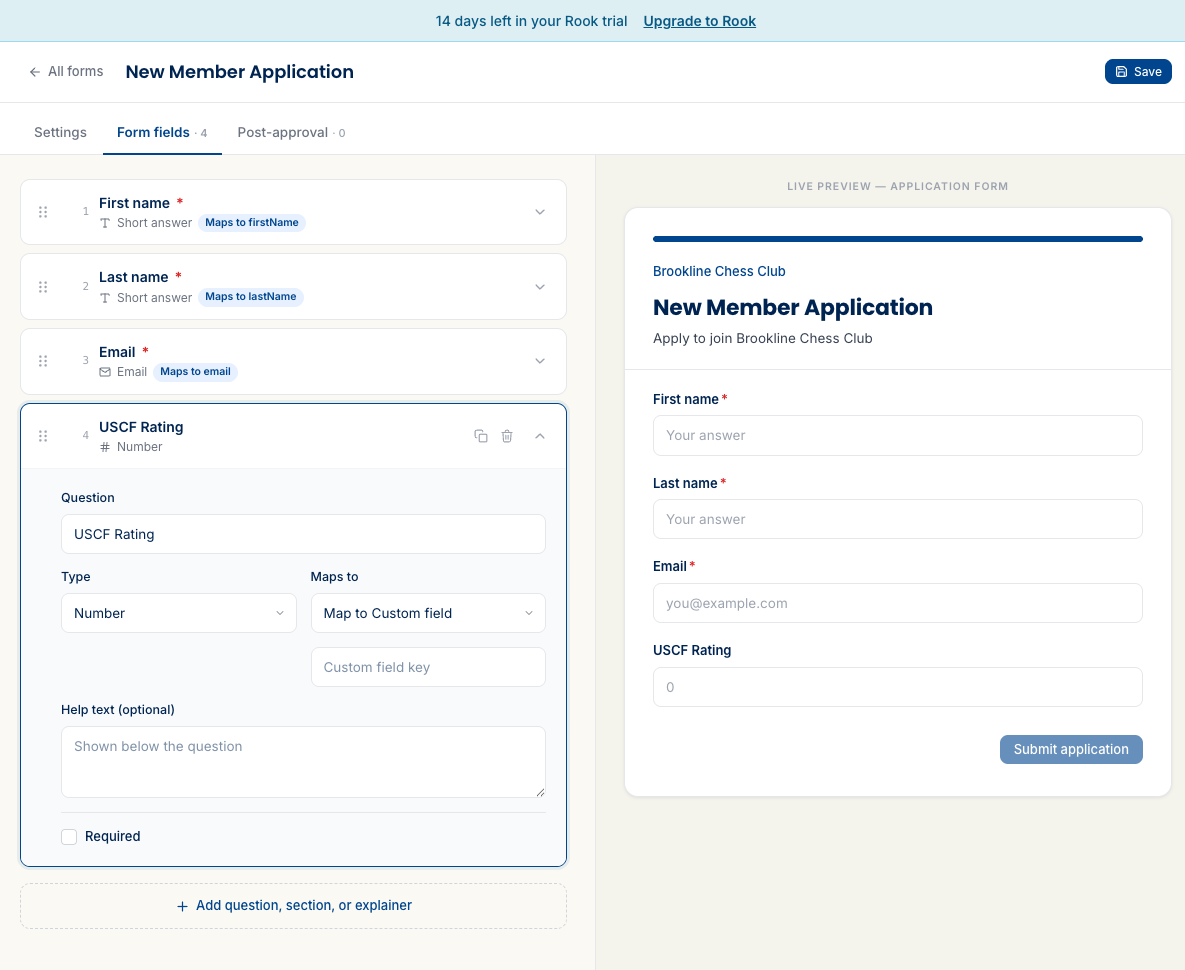
Click “Add question, section, or explainer” to add fields beyond the three defaults. Twelve types are available:
Input types (10): Short answer, Long answer, Email (with validation), Phone (formatted), Number, Date, Dropdown, Multiple choice, Checkboxes, File upload.
Layout types (2): Section header (groups questions visually under a heading), Explainer text (no input — just instructions for applicants).
Field mapping — the part worth slowing down on. Every field has a “Maps to” combobox with four options:
- Map to Member attribute — on approval, the answer auto-populates the new member’s record (first name, last name, and the like).
- Map to email or phone — routes the value for notification delivery.
- Map to member field — pipes the answer into a club-level Custom Field defined in Settings → Custom Fields. Custom Fields covers this once that guide is live. This is how form data becomes structured member data beyond the default attributes.
- Don’t map (custom field) — the answer lives on the submission and shows as its own column in the review queue. No integration, no sync — just captured data.
Post-approval tab
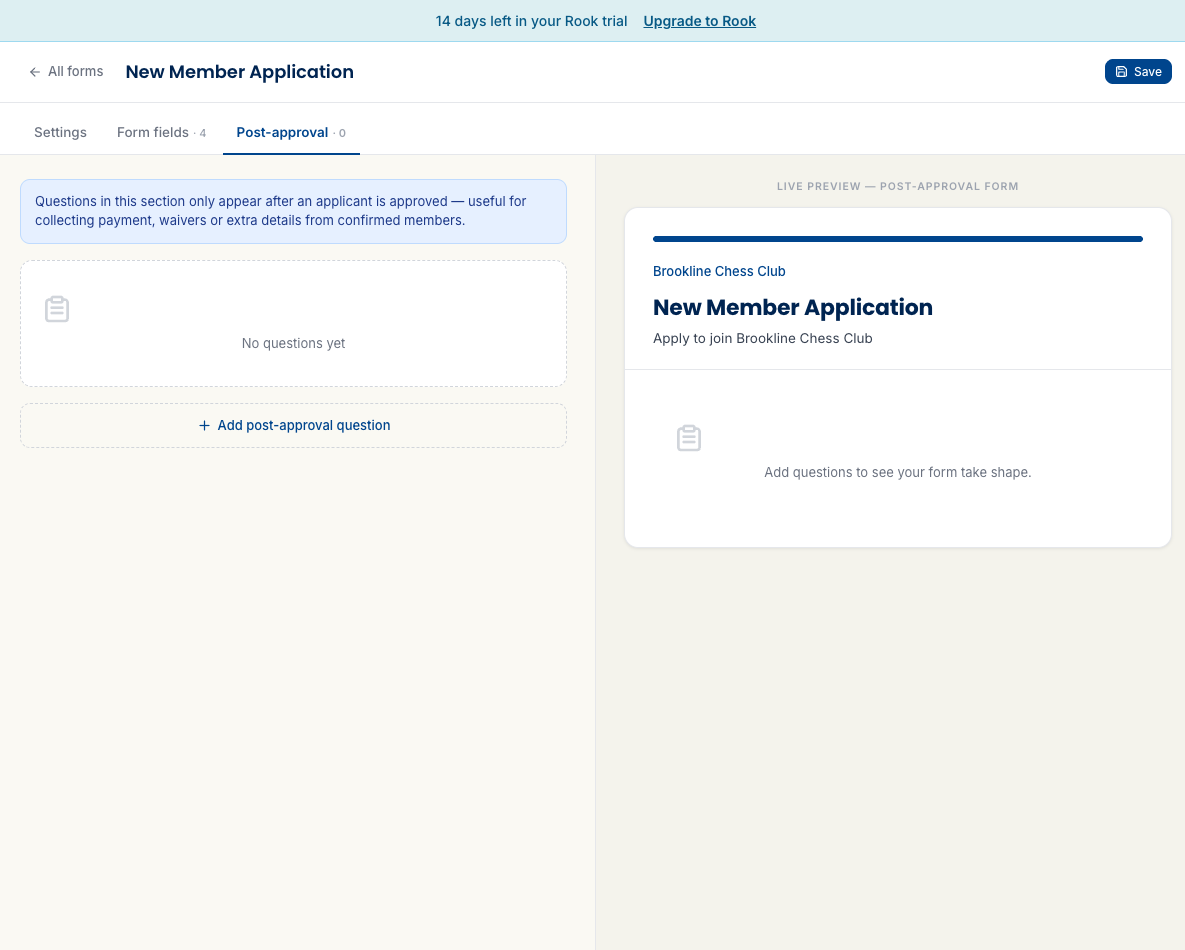
The Post-approval tab is for questions you only want answered after someone is approved — not part of the initial application. The in-product description says it well: “Questions in this section only appear after an applicant is approved — useful for collecting payment, waivers or extra details from confirmed members.”
Think of it as a second step for confirmed members: T-shirt sizes, signed waivers, payment details, equipment preferences. Applicants don’t see these fields until you’ve approved them.
This tab is not where you configure the welcome email (that happens at approval time) or set a role (everyone joins as Member by default).
Publish and share
Save your form — this creates it in Draft state. When it’s ready to go live, hit Publish. The form becomes active and gets a public URL at https://[your-app].rookready.com/forms/[your-form-slug] (the slug is derived from the form name).
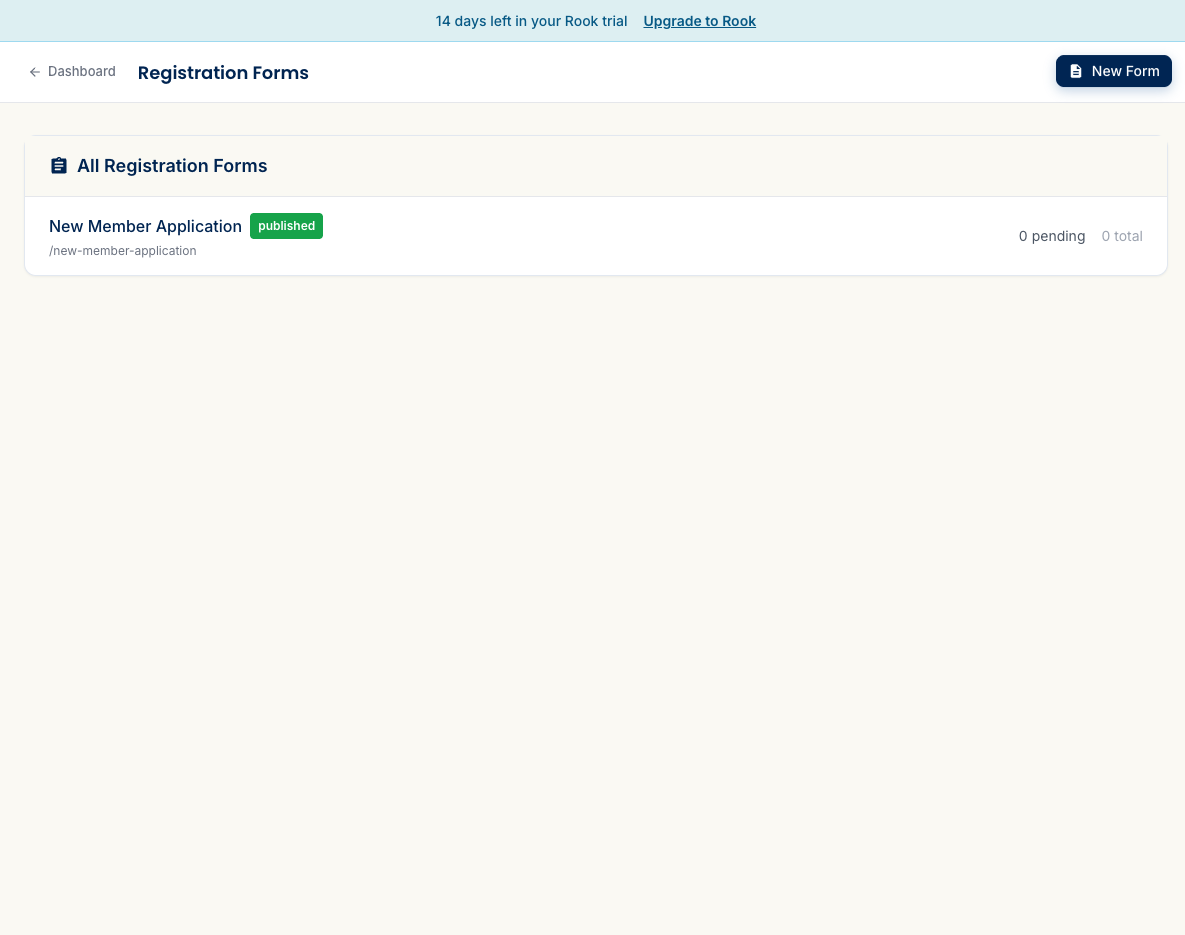
The URL appears in the form’s header alongside a Copy link button. Share it wherever prospective members might encounter your club — your website, email signature, social profiles, club directory listings. No account is required to apply (assuming you left “Anyone can submit” on), so the barrier to entry is just finding the link.
The public form
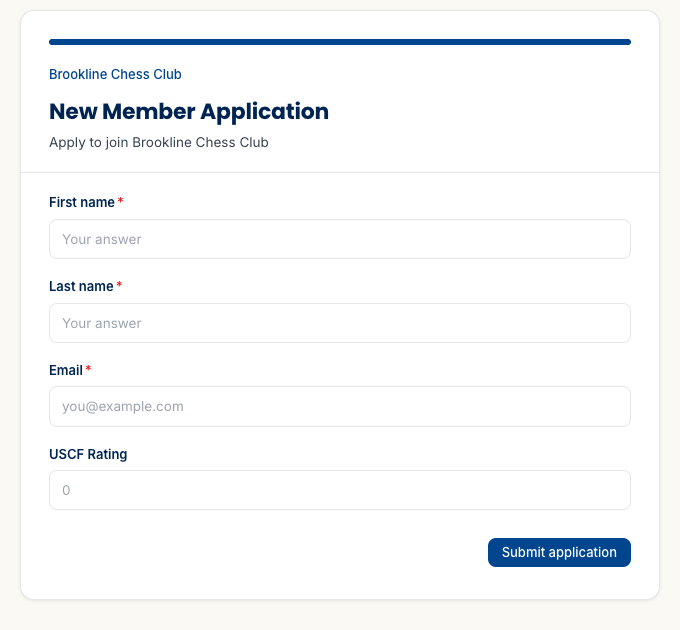
The public form is intentionally minimal: no app navigation, no branding beyond your club name at the top. The H1 is your form title, the description follows, then the fields, then a “Submit application” button. Required fields are marked with *.
After submitting, applicants see a plain confirmation screen: “Thanks for submitting — [Club Name] has received your registration and will be in touch.”
Review and approve submissions
Submissions land in the review queue at /registration-forms/[form]/submissions. Your dashboard’s “Needs your attention” card will show a pending count with a REVIEW link once submissions start coming in.
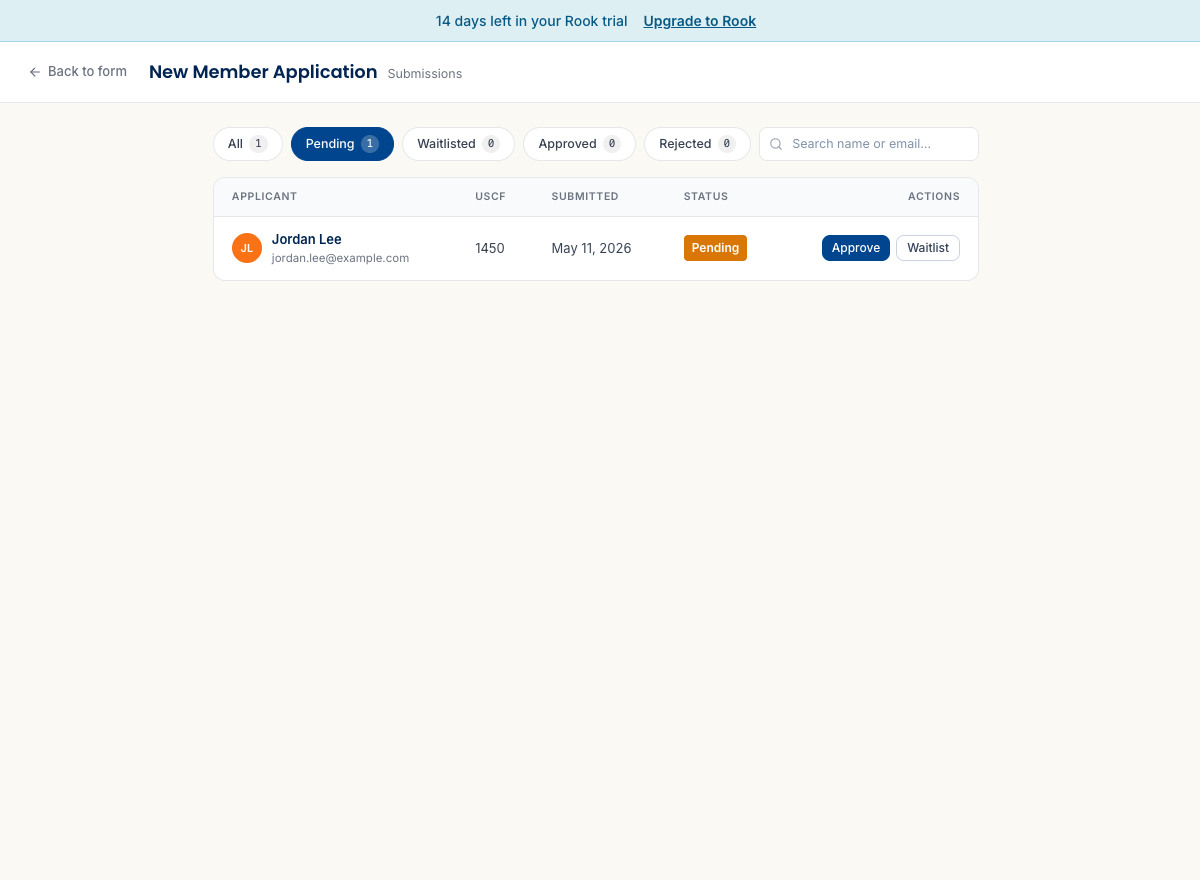
Filter tabs across the top: All / Pending / Waitlisted / Approved / Rejected, each with a count. The table shows the applicant’s name and email, a column for every form question’s answer (yes — custom unmapped questions show up automatically, no configuration needed), the submitted date, and inline Approve and Waitlist buttons.
Click a row to open a detail panel with the full submission if you need to read longer answers.
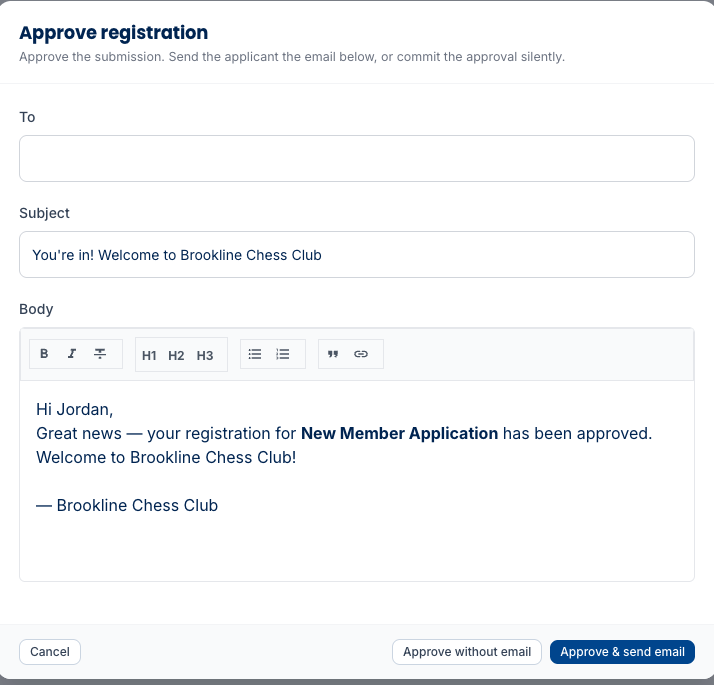
Clicking Approve opens a welcome-email composer pre-filled with the applicant’s first name and your club name. Edit the subject and body using the same rich text controls as Announcements (Bold, Italic, headings, lists, links), or leave the defaults and send as-is. Three actions: Cancel, Approve without email, or Approve & send email.
What happens on approval: the applicant is immediately added to /members as a Member role, the Pending count on the sidebar badge drops by one, and — if you chose Approve & send email — they get the welcome message in their inbox.
What’s next
- Adding Members — for the admin-driven alternative: manual entry, CSV import, or invitation links.
- Sending Announcements — send a welcome message to the batch of new members who just came through the form.
- Custom Fields — define richer member attributes and wire form fields into them via the “Map to member field” option.
If you get stuck, the FAQ has answers to the most common questions, and you can always email support@rookready.com.
Updated May 11, 2026